

Finish a basement often takes a back seat to more pressing home improvement projects like fixing a leaky roof or upgrading windows. However, the increased time spent at home in the past year has heightened the awareness of families regarding the necessity for additional space—be it for work, school, or simply relaxation.
If you reside in one of the 38.3 million single-family homes in the United States equipped with a basement, you already possess an untapped resource. Why let this valuable space go unused when it holds the potential to become a home office, extra bedroom, or fitness studio?
Determining the ideal time to finish a basement varies based on factors like the need for space, available time, and budget. Urgency arises when basements exhibit issues such as mold contamination or structural problems requiring immediate attention for health and safety reasons.
Safety precautions are paramount during a basement finish, emphasizing the importance of checking for moisture and mold before initiating any structural changes. Acquiring appropriate safety gear, tools, and maintaining a well-ventilated workspace is crucial, particularly for DIY enthusiasts.
For those ready to embark on a basement finish, a step-by-step guide is provided to navigate the process effectively.
Instructions:
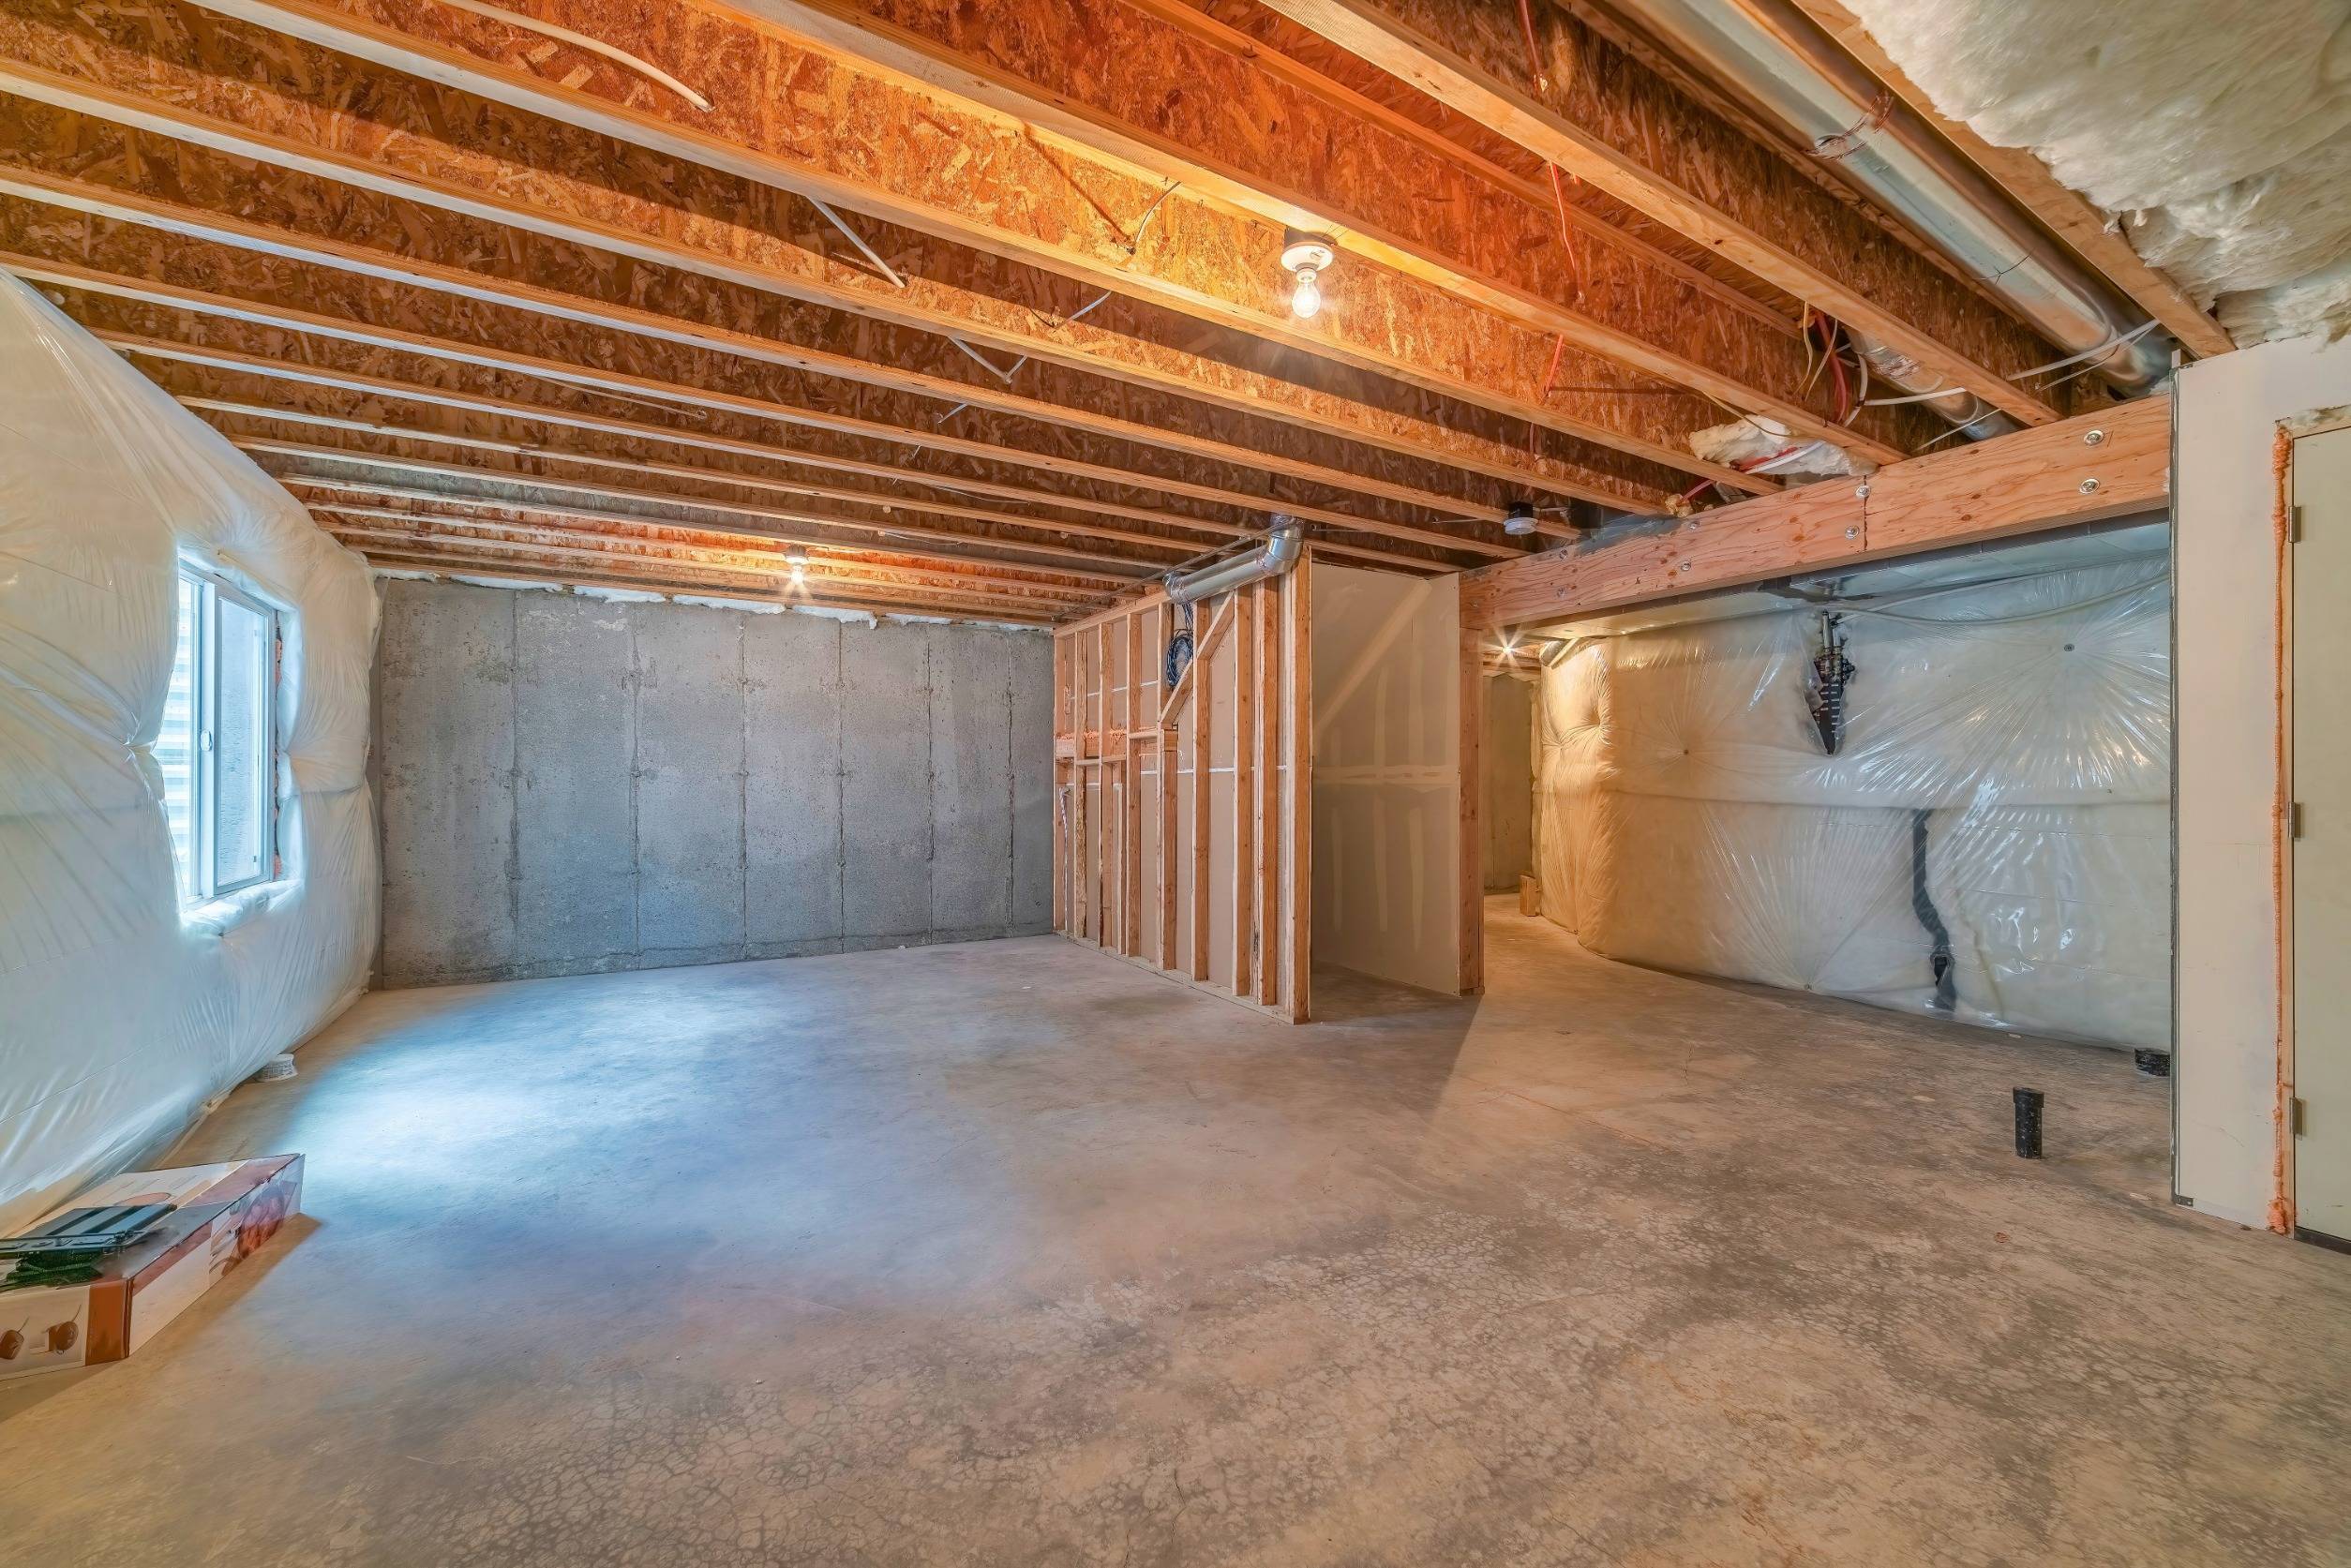
- Check For Moisture:
– Before delving into the specifics of your basement dream, ensure it is dry and free of mold. Addressing moisture issues takes precedence to create a solid plan for the project.
- Create a Plan:
– Determine the project’s scope, considering factors such as the need for new surfaces, starting from scratch, or addressing moisture issues. Budget constraints and professional assistance may also influence the plan.
- Clear Out the Space:
– Clean up the area by removing non-salvageable items, ordering a debris bin, and enlisting household members to assist. A clutter-free environment is essential for a smooth finishing process.
- Demo and/or Prep the Space:
– Depending on the project’s complexity, undertake demolition to remove unwanted elements or prepare the space for further enhancements.
- Framing, Plumbing, and Electrical:
– Initiate framing as the backbone of the project, followed by plumbing and electrical work while the walls are accessible.
- Place Insulation:
– Ensure the basement remains comfortable by installing insulation before proceeding with drywall installation.
- Hang Drywall:
– Precision is key during drywall installation, marking a significant step toward realizing the new basement’s form. Protective gear, including a respirator mask, is essential.
- Paint, Install Flooring, and Place Fixtures:
– The order of these stages depends on the project’s scope. Consider factors like painting, flooring installation, and fixture placement based on your specific requirements.
- Add the Finishing Touches:
– Attend to details such as cabinet hardware, shelving, light fixtures, and blinds—elements that enhance the overall aesthetics and functionality of the space.
- Get Your Final Inspections:
– Conclude the basement finish by ensuring it meets safety and regulatory standards. Final inspections, as outlined in acquired permits, are essential for verifying the project’s compliance.
Embark on your basement finishing journey with confidence, following these comprehensive steps to transform your underutilized space into a functional and appealing area for your family.
continue reading
Related Posts

Your unfinished basement may be filled with storage boxes or […]


7 Basement Finishing Essentials Discover how to maximize your living […]
-
Six Considerations Before a Basement Finishing Basements have evolved beyond […]